
Building software is one thing. Making it easy for someone else to install and use is another.
During development, we are used to running commands such as npm start, python, or uvicorn and having everything work on our own machine. But when we give the application to another user, we cannot expect them to install Python, Node.js, all the required packages, and configure the backend themselves.
This is where software packaging comes in.
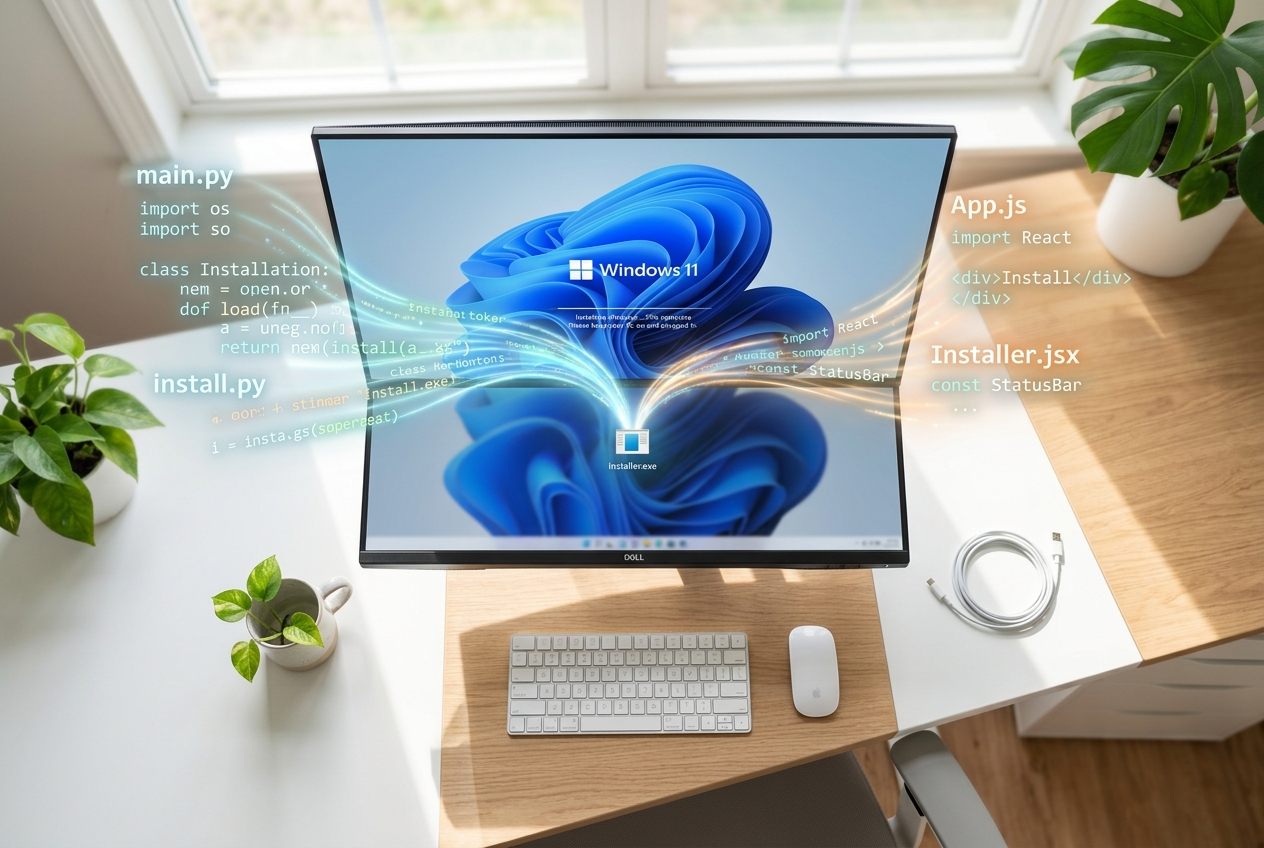
In this blog, we will look at a simple example of packaging a React frontend and a Python backend into a Windows desktop application that users can install and run without setting up the development environment themselves.
The basic idea is:
React → Python Backend → Electron → Windows Installer
The example application uses React for the frontend, FastAPI for the backend, PyInstaller to package Python, and Electron with electron-builder to create the final Windows application.
What does "Packaging" a software mean?
Imagine you have built an application consisting of:
- A React frontend
- A Python backend
- Several Python and Node.js dependencies
During development, all of these pieces exist separately. The user, however, does not need to know about any of them.
Ideally, they should be able to:
- Download your application.
- Install it.
- Double-click the application.
- Start using it.
Packaging is the process of taking all the pieces required by your application and preparing them into something that can be distributed and installed.
In our example, the final result is a Windows .exe installer.
Understanding the architecture
Before looking at the commands, it helps to understand what actually happens when the packaged application starts.
The flow looks like this:
User opens the application
          ↓
      Electron
          ↓
Starts Python Backend
          ↓
   FastAPI on localhost
          ↓
 React Frontend loads
          ↓
Frontend communicates with Backend
Electron acts as the desktop application shell. The Python backend runs in the background, while the React application provides the user interface.
In the example, the Python backend listens on localhost:8000, and Electron loads the application from that backend.
Step 1: Package the python backend
The first problem is Python.
Normally, a user would need Python installed on their computer before they could run your backend. We can avoid this by using PyInstaller. It takes your Python application and its dependencies and creates a standalone executable.
In simple terms:
Python code + Python dependencies
              ↓
          PyInstaller
              ↓
          backend.exe
The user no longer needs to install Python separately to run the packaged backend.
First, install PyInstaller:
pip install pyinstallerThen create a PyInstaller configuration file, commonly called a .spec file. This tells PyInstaller what application to package and which dependencies need to be included.
Once the configuration is ready, the backend can be built with:
cd backend
pyinstaller main.spec
This produces the packaged backend:
backend/dist/backend.exeAt this point, you have a standalone backend executable.
Step 2: Build the react frontend
The React application also needs to be converted from a development project into production-ready files.
Run:
cd frontend
npm run build
React creates a build folder containing the optimized HTML, JavaScript, CSS, and other assets required by the application.
You can think of this as turning:
React source code
      ↓
npm run build
      ↓
Production frontend files
These files are what the desktop application will eventually display.
Step 3: Bring everything together with electron
Now we have two important pieces:
React build
    +
Python backend.exe
But we still need something that behaves like a normal desktop application.
This is where Electron comes in.
Electron allows web technologies such as HTML, CSS, and JavaScript to run inside a desktop application window.
We create an Electron entry file, such as:
electron.jsIts job is relatively simple:
- Start the Python backend.
- Wait for the backend to become available.
- Open the Electron window.
- Load the React application.
- Stop the backend when the application closes.
The example uses a health check to make sure the backend is ready before displaying the application. This helps prevent the user from seeing a blank window while the backend is still starting.
Step 4: Tell electron where the backend is
During development, you might manually start your backend with something like:
uvicorn api.main:app --reloadThat is fine for development, but we do not want users doing this. When the application is packaged, Electron starts the backend executable automatically.
The packaged structure is essentially:
Desktop Application
│
├── Electron
│
├── React application
│
└── Python backend
    └── backend.exe
Electron is configured to include the backend executable as an additional resource when creating the final application.
Step 5: Create the windows installer
We now have all the pieces, but we still need to turn them into something users can install.
This is where electron-builder is used.
Electron-builder packages the Electron application and its resources and can create a Windows installer.
The build command can be as simple as:
npm run distBehind the scenes, the process looks like:
Python Backend
     ↓
PyInstaller
     ↓
Backend .exe

React Application
     ↓
npm run build
     ↓
Production files

Backend + React + Electron
     ↓
electron-builder
     ↓
Windows Installer
The final output can look like:
Software Setup 0.1.0.exeThe user can then run the installer, choose where to install the application, and create shortcuts on the desktop or Start Menu.
The complete build process
Once everything has been configured, the complete packaging process becomes straightforward.
1. Build the python backend
cd backend
pyinstaller main.spec- Build the react frontend
cd ../frontend
npm run build
3. Package the desktop application
npm install
npm run dist
The final installer will be generated in the configured release folder.
Dont forget to test the final installer
An application working on your development machine does not automatically mean the packaged application will work everywhere. Always test the actual installer.
Check that:
- The application installs successfully.
- The application opens.
- The backend starts automatically.
- The React interface loads correctly.
- The frontend can communicate with the backend.
- Required external services can be reached.
Testing the backend executable separately before testing the complete application can also make troubleshooting much easier.
Packaging software is essentially about turning a collection of development components into one application that a normal user can run. Once this process is understood, taking an application from it works on my machine to anyone can install and use it becomes much less complicated.
Electron-builder documentation: electron-builder